Swapping is the process of exchanging one token for another on a decentralized exchange (DEX). Swaps are facilitated by liquidity pools, which hold the tokens being traded. When a user wants to swap one token for another, they send the first token to the liquidity pool and receive the second token in return. The swap price is determined by the ratio of tokens in the liquidity pool, which changes as tokens are added or removed from the pool. The swap price is always based on the current market price of the tokens, and the user is charged a fee for the trade.
ThirdFi provides Swap API that creates a swap session where a user can swap their tokens by connecting their wallet. We currently support Metamask Wallet, WalletConnect, Crypto.com, OKX Wallet, KuCoin Wallet and Fluent Wallet.
How to use ThirdFi’s Swap API
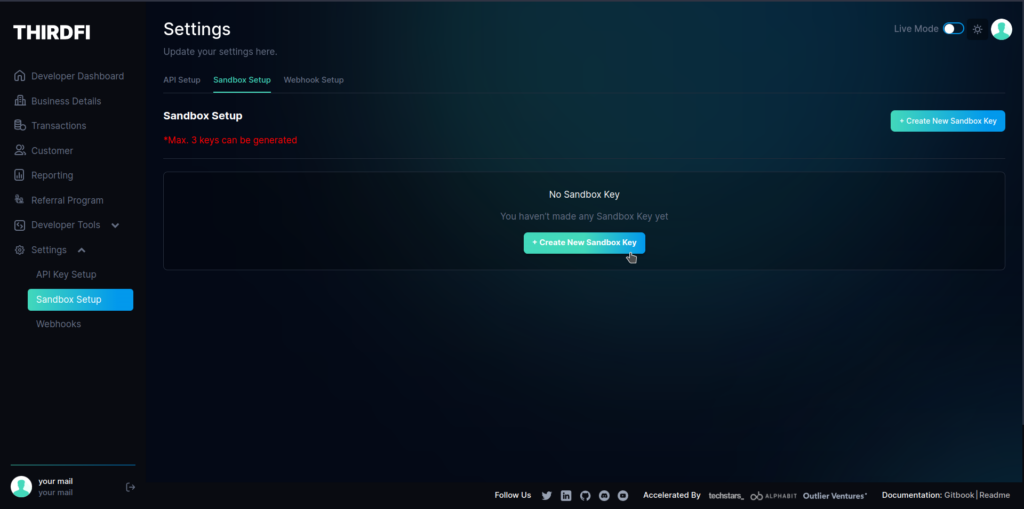
4. Also, let’s setup a webhook to listen to any transaction event and get updates of the user transactions.
You can https://webhook.site to get a custom link to receive a webhook. You can also use your own site for the same and listen to the events.
ThirdFi will make a POST request to the link whenever a transaction is done.

5. Let’s try out the Swap API. Head over to the docs here to know more. Also, check out the API reference to know how to get started.
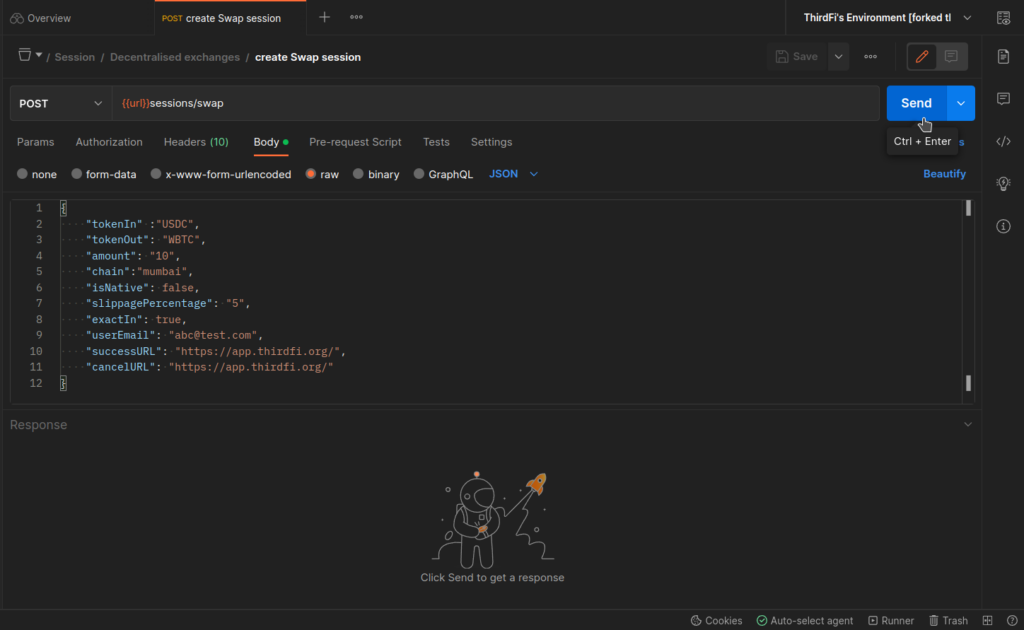
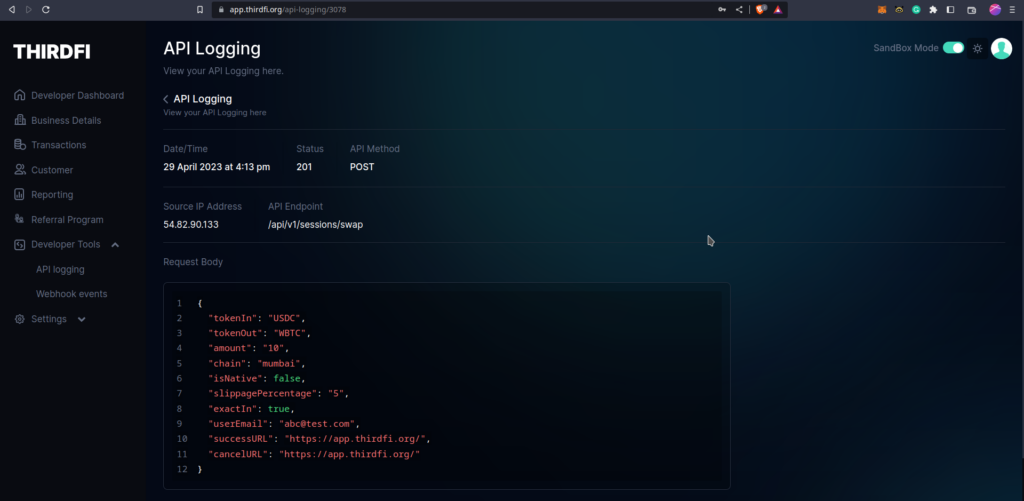
To create a swap session, we need to do a POST request to this API – https://sandbox.thirdfi.org/api/v1/sessions/swap with a required “body” in the request.
Below is the body for the same, here userEmail, tokenIn, tokenOut, amount and chain are the required fields and others are optional
Result(after calling the API)
To run the code, you should have NodeJs installed and to run you have to run the below command
node path/to/the/code/file
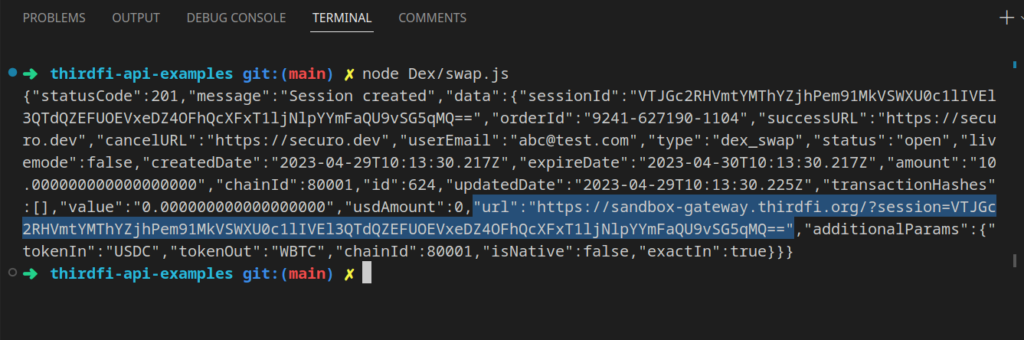
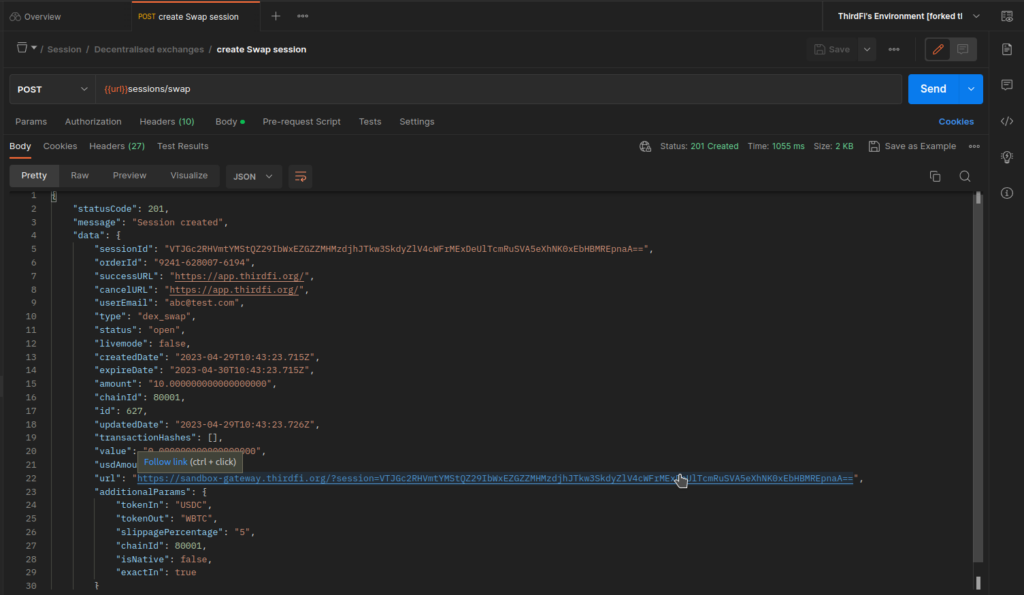
The highlighted session URL can be used for swapping, let’s try out requesting the API from Postman too. Afterwards, we will see how the swap session actually works.
Using Postman to Call Swap API
- Fork this Postman Workspace and add your API key and Secret to the ThirdFi environment. You have to fork it before making any request.
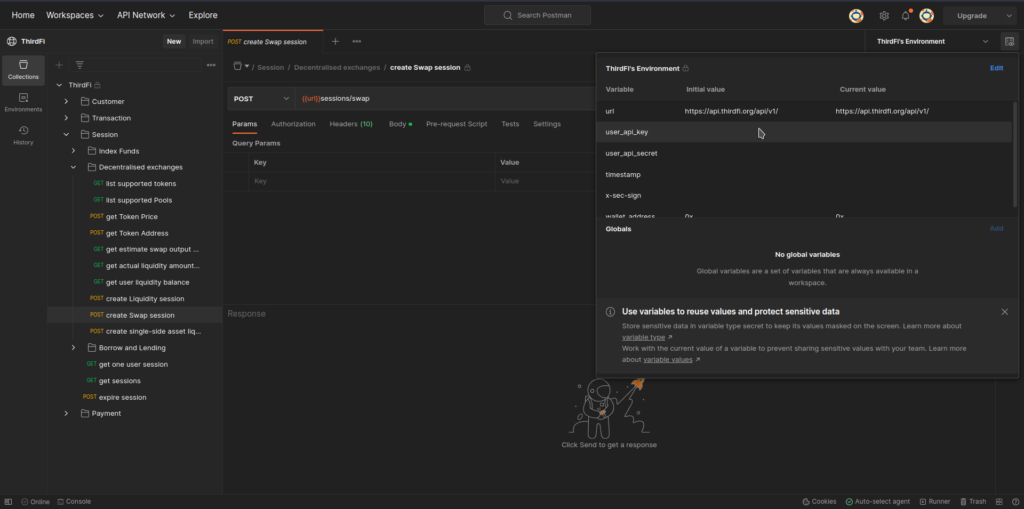
2. If you have already forked and added the API keys, let’s make an API request now.
3. Check out the Response for the “URL” part.
Testing out Swap session
- Open the link in the browser window.
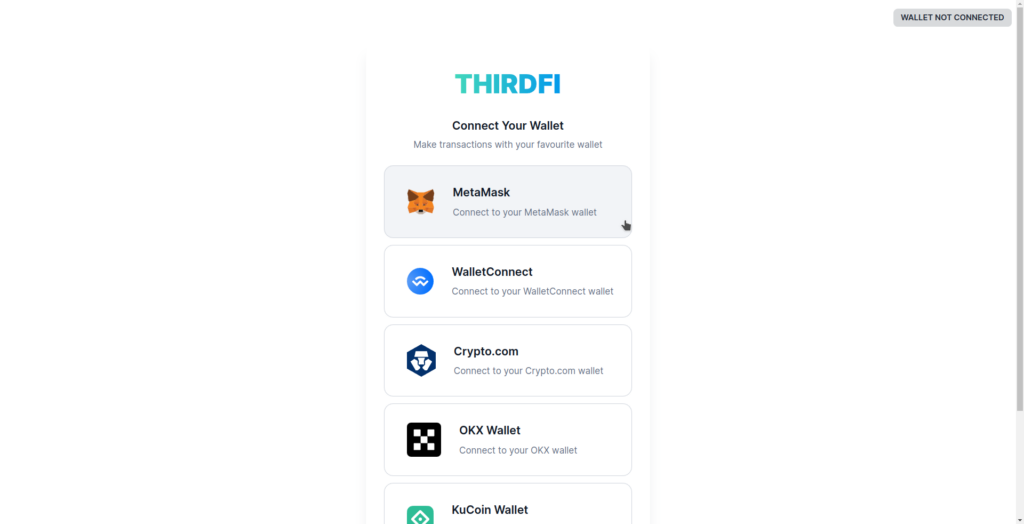
2. Connect your wallet on the page.
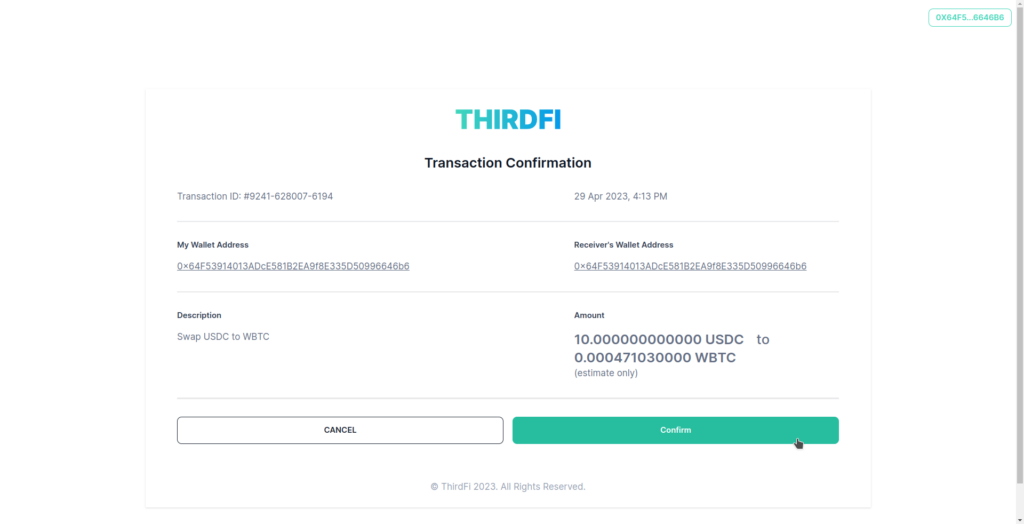
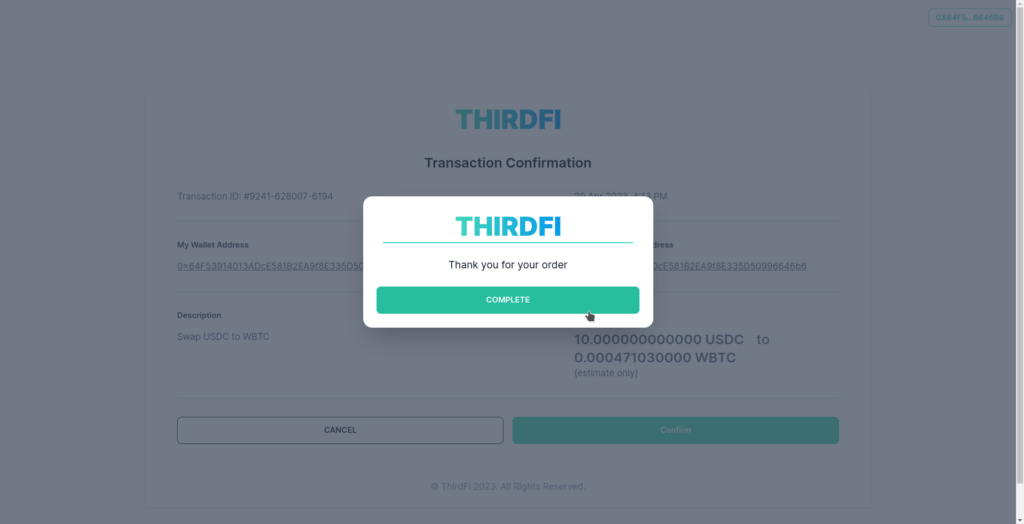
3. Click on confirm the transaction and sign the transaction popped up on the wallet.
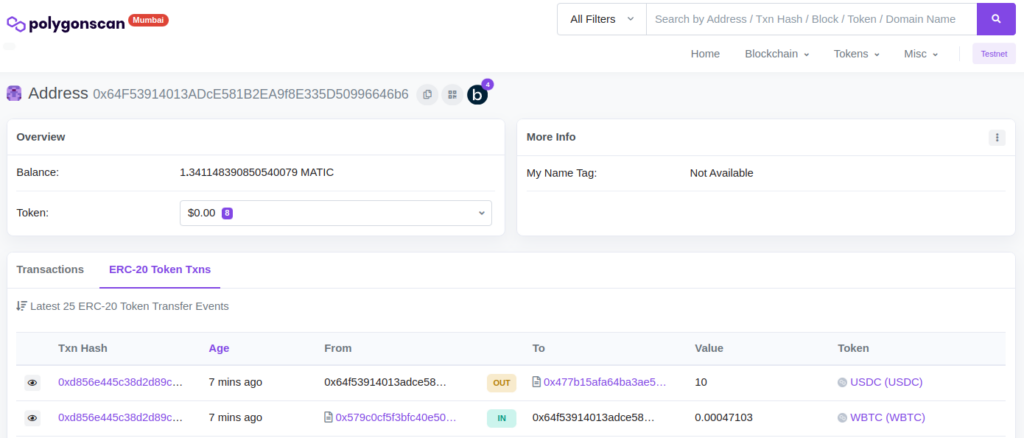
4. Here is the transaction on the explorer.
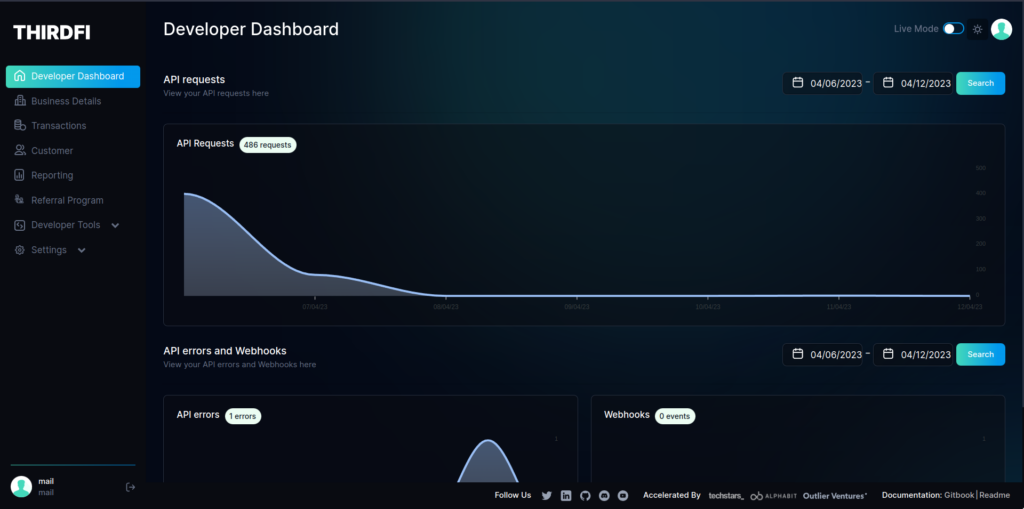
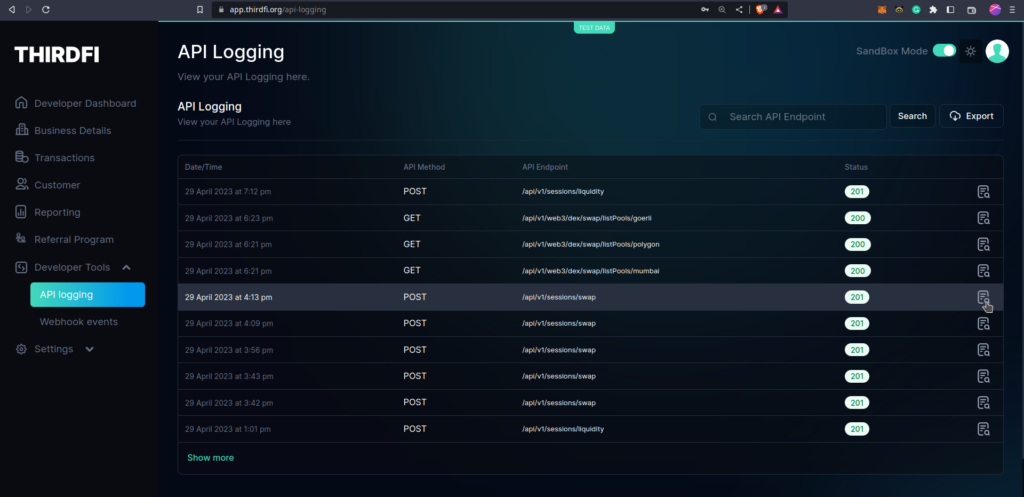
5. Developers can check about the transaction on their API dashboard too.
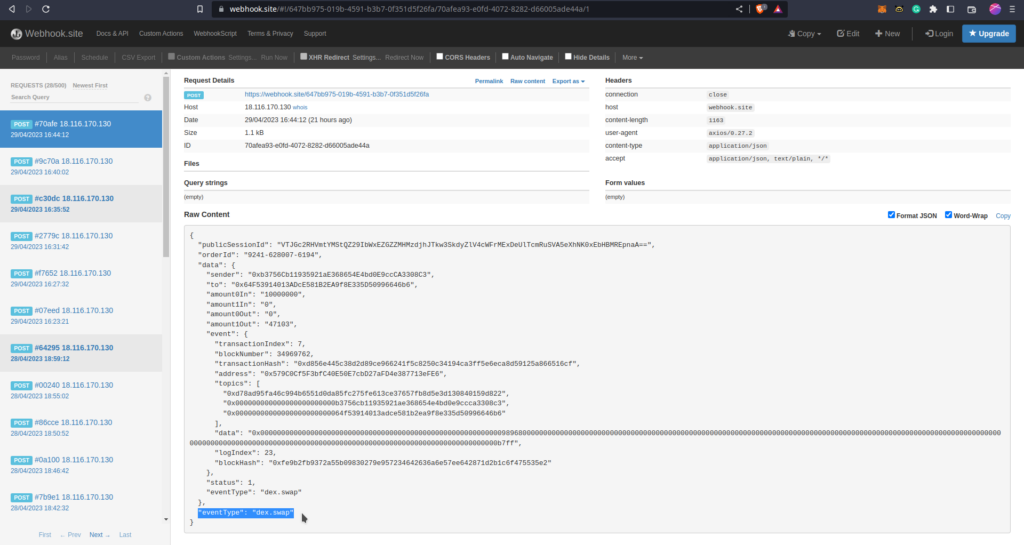
6. Remember, we have added a webhook on the dashboard at the start. ThirdFi must have triggered a POST event to the webhook URL.
Below is the https://webhook.site page that received the event.
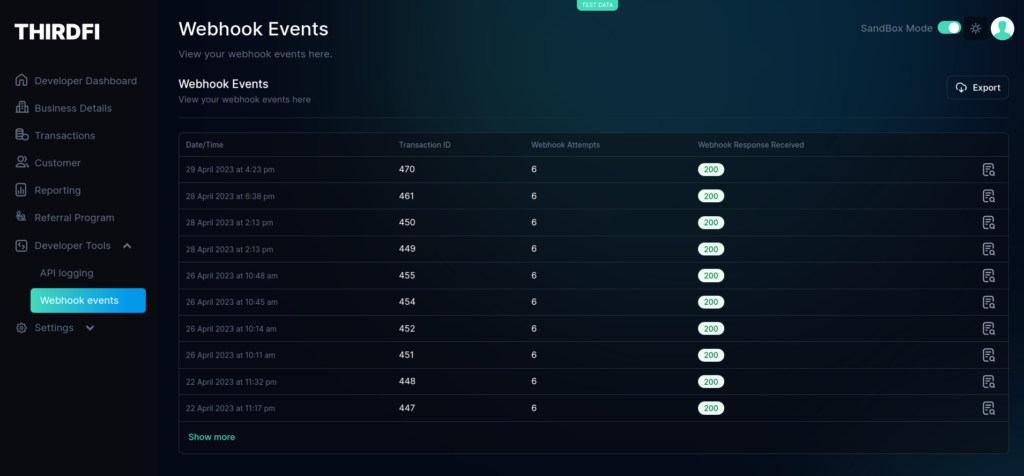
7. The triggered events on the webhook can also be tracked in the ThirdFi dashboard in the webhook logs.
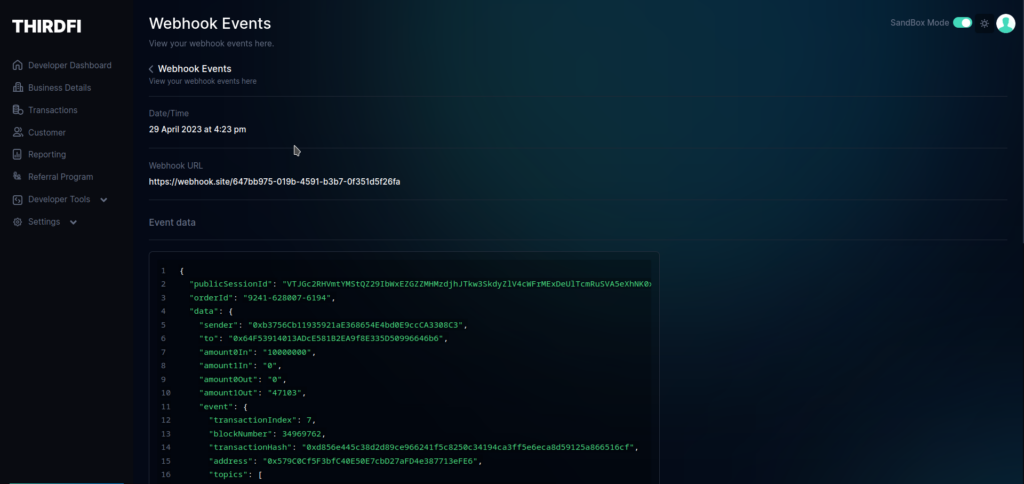
All webhook events have an “eventType” in the JSON object. The event type can help the developers to know what transaction triggered the event. Also, the webhook event contains all these important details about transactions in the “data” field. Most importantly, the developers can make an update to the User based on the transaction data such as transactionHash, status and crypto amounts transferred.